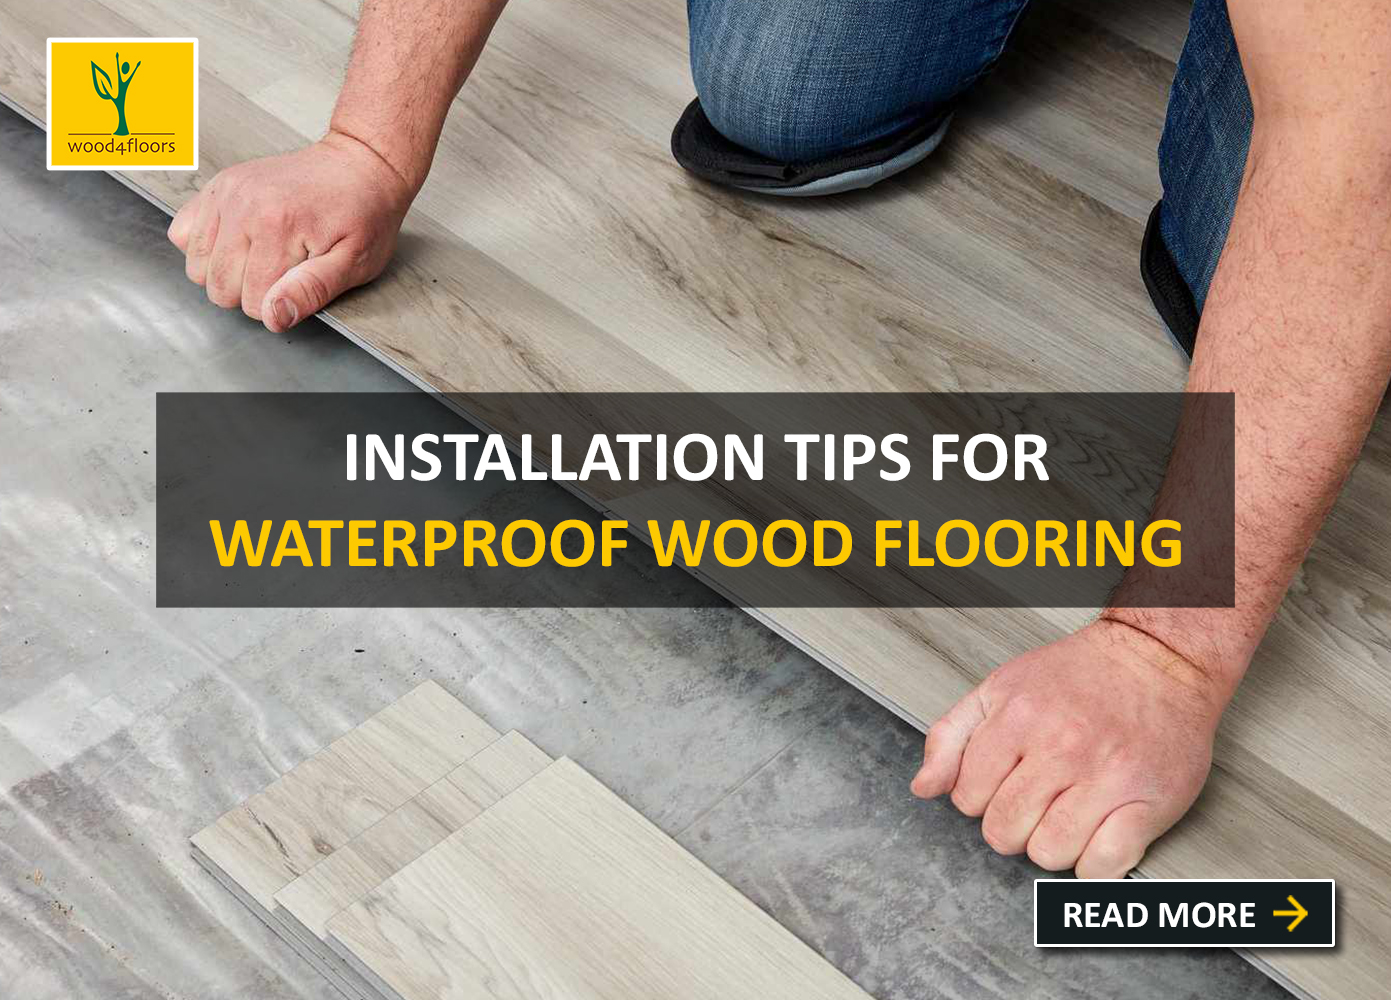
Waterproof wood flooring has become increasingly popular in recent years due to its durability and resistance to moisture. However, proper installation is crucial to ensure the longevity and functionality of your waterproof wood flooring. In this blog post, we’ll provide some installation tips to help you achieve a successful installation.
1. Prepare the Subfloor
Before installing waterproof wood flooring, it’s important to prepare the subfloor properly. The subfloor should be clean, dry, and level. If the subfloor is uneven, use a self-leveling compound to even it out. Additionally, check for any damage or rot and make any necessary repairs before installation.
2. Acclimate the Flooring
Most waterproof wood flooring requires acclimation to the environment where it will be installed. This process allows the flooring to adjust to the temperature and humidity levels of the room. Failure to acclimate the flooring can result in buckling or warping after installation. Follow the manufacturer’s instructions for acclimation time and conditions.
3. Use the Right Tools
To ensure a successful installation, it’s important to use the right tools. You’ll need a saw for cutting the planks, a tapping block for locking them together, a pull bar for tight spaces, and spacers to maintain the proper expansion gap. Additionally, a moisture meter can be helpful to check the moisture content of both the subfloor and the flooring before installation.
4. Follow the Manufacturer’s Instructions
Each brand and type of waterproof wood flooring has its own unique installation requirements. It’s important to carefully read and follow the manufacturer’s instructions for your specific flooring. This includes information on installation methods, expansion gap requirements, and moisture barrier recommendations.
5. Leave Room for Expansion
One of the most important installation tips for waterproof wood flooring is to leave room for expansion. This type of flooring can expand and contract due to changes in temperature and humidity levels, so it’s crucial to leave a gap around the perimeter of the room and at doorways. The expansion gap should be at least 1/4 inch, but consult the manufacturer’s instructions for specific requirements.
Conclusion:
Proper installation is key to achieving beautiful and durable waterproof wood flooring in your home. By preparing the subfloor, acclimating the flooring, using the right tools, following the manufacturer’s instructions, and leaving room for expansion, you can ensure a successful installation that will last for years to come. If you’re not comfortable with DIY installation, consider hiring a professional installer to ensure the job is done right.


